Your Cart is Empty

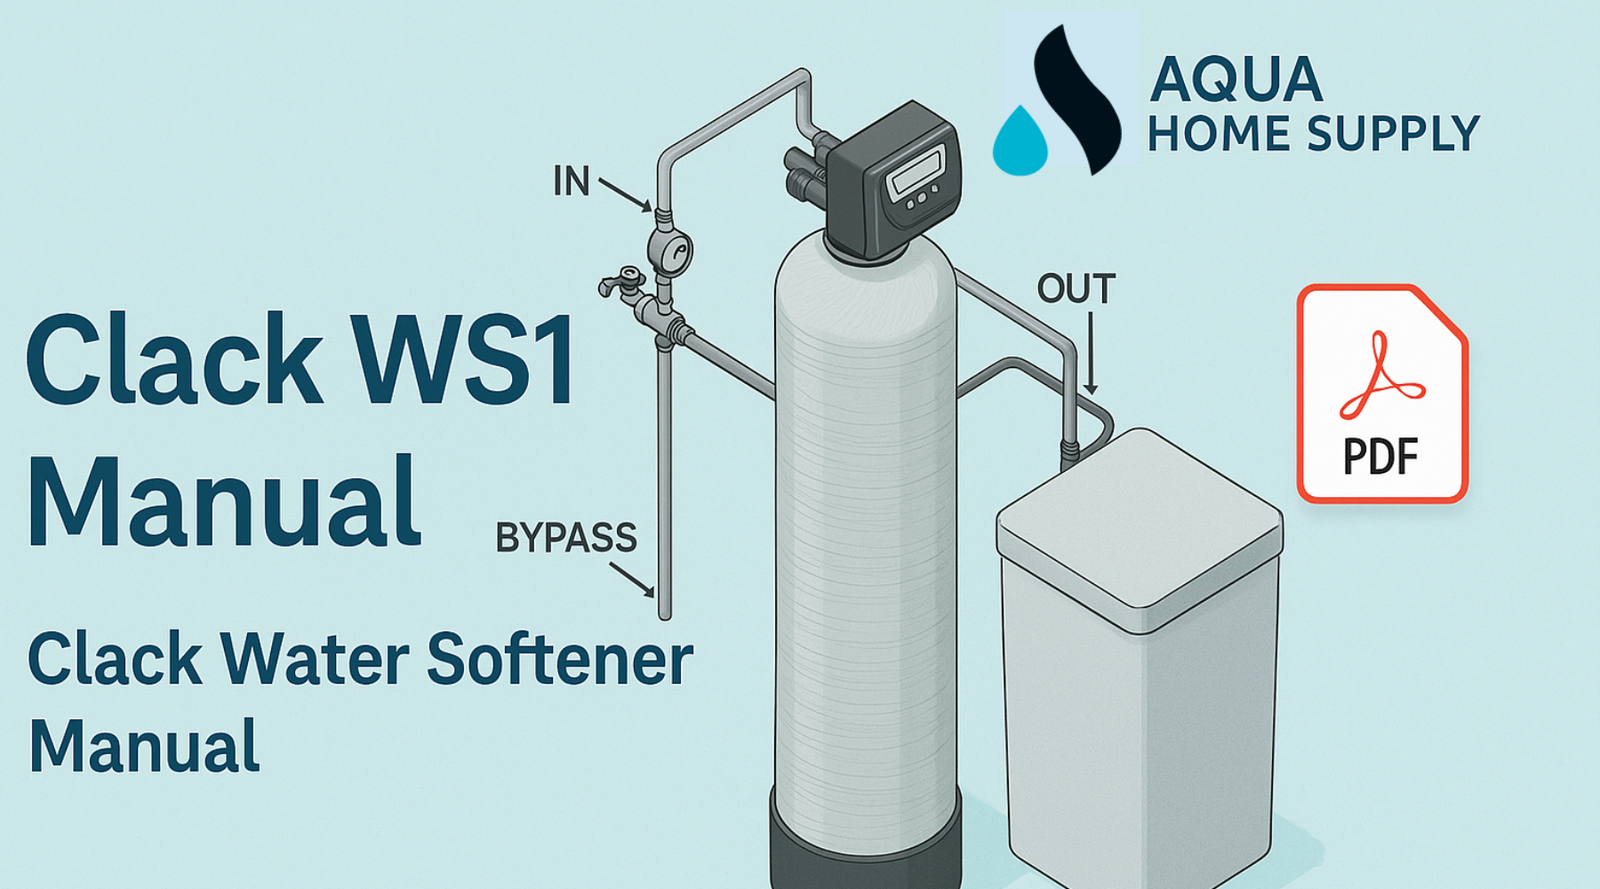

This is the installation and startup guide for the Clack water softener on the WS1 (1″) or WS1.25 (1.25″) EE control valve, written from the installs our team supports every week. It covers identifying your valve, checking the shipment, tank prep, plumbing, the brine line, startup, programming, how to confirm it's working, and troubleshooting. Everything below follows our 2026 installation guide; download it to keep at the install site.
Download the installation guides (PDF, 2026 edition)
Clack WS1 & WS1.25 EE Softener Installation Guide: standalone softener
Clack Softener + Carbon Filter Combo Installation Guide: softener paired with a backwashing carbon filter
For valve exploded drawings and part numbers, Clack's own WS1 service manual is the reference. This guide covers installing and starting up the complete softener as we ship it.
Both valves use the same EE display, buttons and programming. The differences are internal porting and distributor tube size, and they matter in exactly one programming step (2CS).
| WS1 (1″) | WS1.25 (1.25″) | |
|---|---|---|
| Distributor tube opening | 1.05″ OD | 1.32″ OD (32 mm on some bodies) |
| How to tell on the body | No grey plug | Grey plug on the valve body; grey or black spacer stack |
| Service flow rate | 27 GPM | 32 GPM |
| Typical system size | 32K–120K grains | 80K–210K grains (higher-flow homes) |
| Regeneration (as shipped) | Downflow | Downflow |
| Fittings included | Your choice of bypass fittings (2) | Your choice of straight brass sweat or PVC fittings (2) |
There is no gravel in the tank in any configuration. The resin bead size makes an underbed unnecessary; older guides that call for gravel don't apply to these systems.
| Resin | System size | Preloaded? | Load on site? |
|---|---|---|---|
| Standard 8% crosslinked | Under 64K grains (32K / 40K / 48K) | Yes | No |
| Standard 8% crosslinked | 64K grains and up | No, ships in bags | Yes; funnel included |
| 10% crosslinked upgrade | Any size | No, ships in bags | Yes; funnel included |
Pipe cutter and solvent-weld tools as appropriate for your plumbing, adjustable wrenches, channel locks, Teflon tape, a bucket and towels, and a garden hose.
The bypass valve has four positions: Normal, Bypass, Diagnostic and Shut-Off. Arrows on the body show the flow for each, and it works identically on the WS1 and WS1.25.
| Button | What it does |
|---|---|
| NEXT | Scroll to the next display or advance a program step |
| ▲ / ▼ | Change the value on screen |
| REGEN | Press and release: schedule a regeneration at the set time. Hold 3 seconds: start one now. During regeneration: advance to the next cycle. In programming: go back a step |
Press NEXT until the time screen shows, hold ▼ until SET TIME flashes, set the hour with ▲/▼, press NEXT, set the minutes, then press NEXT to exit.
| Step | Setting |
|---|---|
| Unlock | Hold NEXT + ▼ together for 5 seconds |
| 2CS: Valve size | 1.0 for a WS1, 1.25 for a WS1.25. The only step where the two valves differ |
| 4CS: dP switch | oFF, unless an external switch is installed |
| 2S: System type | SOFTENING |
| 3S: Brining direction | Factory-set; don't change unless troubleshooting |
| 4S: Refill location | PoST (standard) |
| 5S–9S: Cycle times | Factory-preset; no changes needed |
| 10S: System capacity | Set for your unit's resin volume and tank size (call us if unsure) |
| 11S: Volume capacity | AUTO (recommended) |
| 12S: Regeneration time option | NORMAL for residential use |
| 2i: Hardness | Your water hardness in grains per gallon |
| 4i / 5i: Regeneration hour | 2:00 AM default suits most homes |
| Symptom | Likely cause | Fix |
|---|---|---|
| Water still hard after startup | Brine injector not drawing, or resin not fully rinsed | Run a manual regeneration (hold REGEN 3–5 s); check the injector |
| Water still hard; tank felt light during setup | Resin wasn't actually loaded | Confirm resin per section 1; if missing, stop and load it |
| "Error" flashing | Valve fault or piston out of sync | Press NEXT + REGEN together for 3 s to reset; if it recurs, disconnect and reconnect power |
| Discolored water for days after startup | Old galvanized pipe releasing sediment or iron | Normal short-term; flush at the hose bib; if it lasts past 1–2 weeks, have the piping inspected |
| Salt and water sitting in brine tank; water hard again | Brine injector clogged, or out of salt | Add salt if low; clean the injector with vinegar or CLR (no sharp tools) |
| Valve stuck on a cycle | Drain line kinked or clogged, or DLFC obstructed | Check drain line routing; clean or replace the DLFC |
| Leak at the bypass or a fitting | Loose union, unsealed thread, or bypass heat-damaged during soldering | Retighten by hand; replace the bypass if heat-damaged |
| No treatment at all; valve seems fine | Bypass left in Bypass or Shut-Off | Turn handles to match the engraved arrows for Normal |
| Hard water bypassing | Wrong valve size in step 2CS (1.0 on a WS1.25 or vice versa) | Recheck the body (grey plug and 1.32″ opening = WS1.25) and correct the setting |
Replacement pistons, seals, injectors, DLFCs and bypass parts are in our Clack parts collection.
5-year limited warranty on the control valve and 10-year limited warranty on the tanks, plus free replacement parts for life on this system through Aqua Home Supply. If anything in this guide doesn't match what's in front of you, stop and call before guessing: 1-800-374-2143 or support@aquahomesupply.com.
The systems this guide covers: Clack WS1 water softener · Clack WS 1.25 EE water softener · Clack WS1 softener + carbon filter. Compare models and sizing on the Clack water softeners page.
Aqua Home Supply is not responsible for damage to any system, residence or business resulting from incorrect installation.
Comments will be approved before showing up.